Skip to main content
How to Install BlackArch In VMware Workstation 15
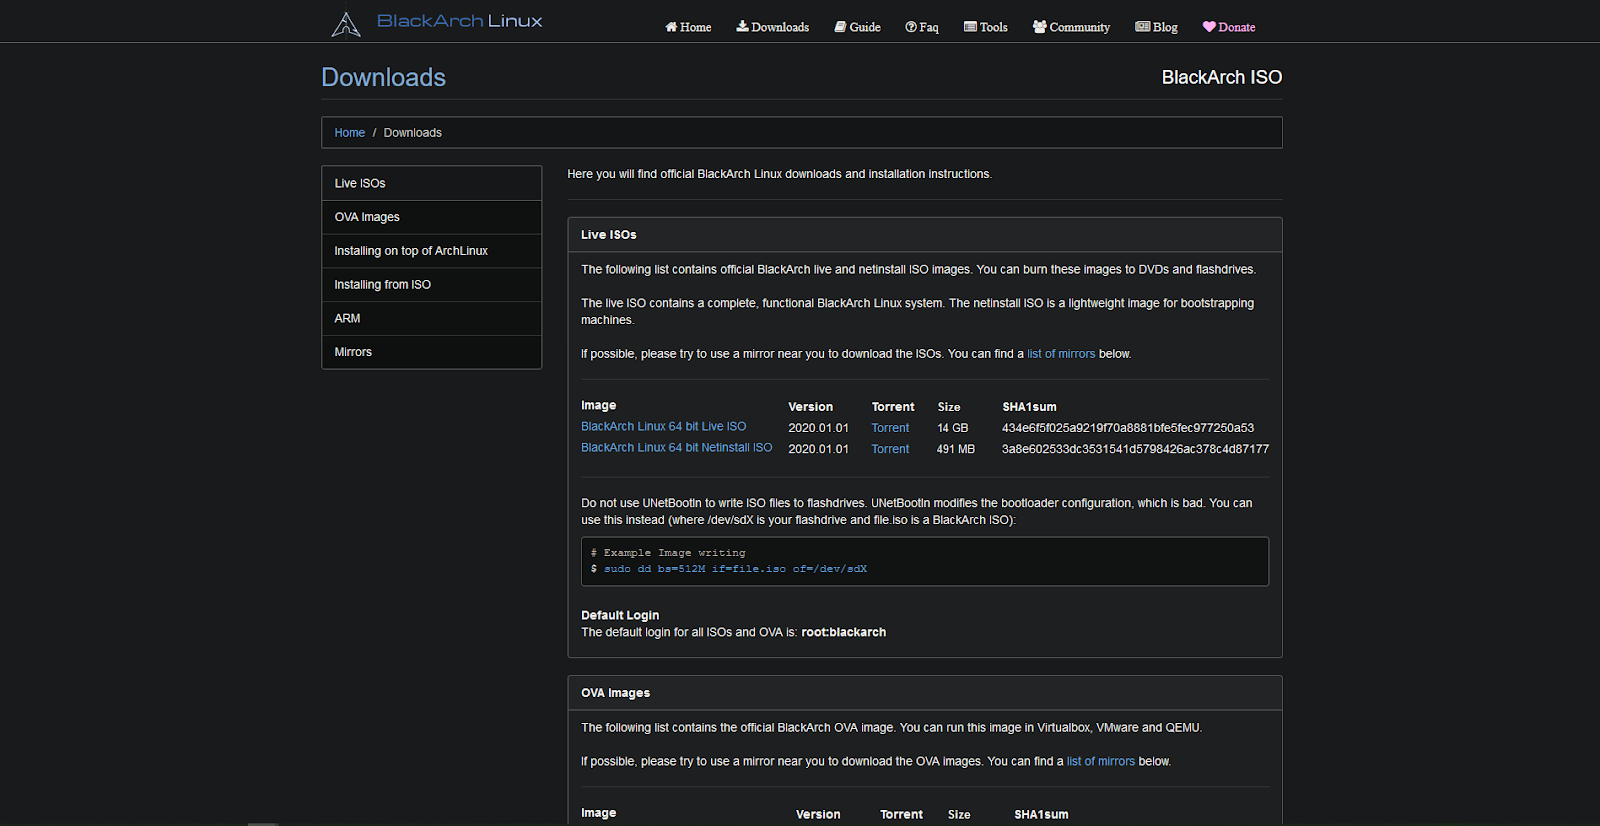
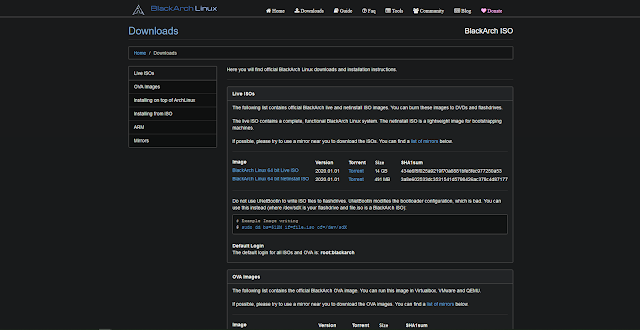
- Download Image File ffrom Blackarch Official Website.
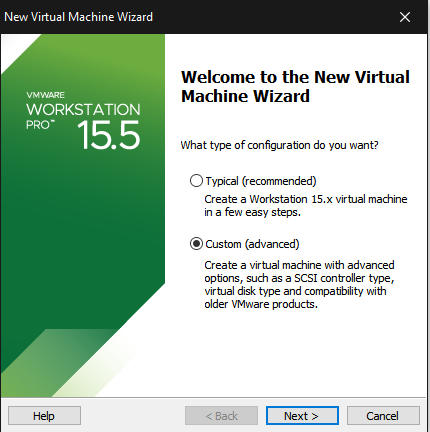
- Open Vmware And Select Create New Virtual Machine.
- Select Custom Option in it.
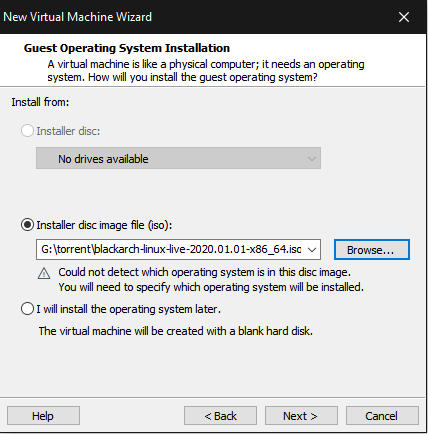
- Select the Correct Image file path.
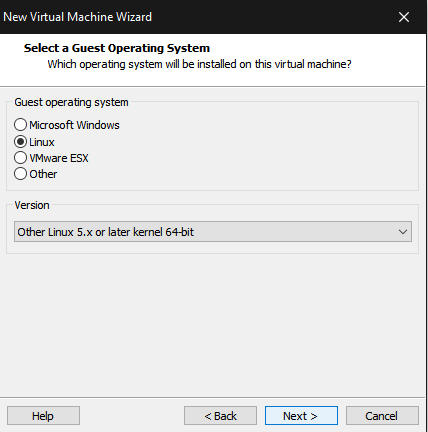
- Choose Linux as Guest operating system and choose Other Linux 5.x or later kernel 64-bit because Blackarch Using Kernel 5 or Above.
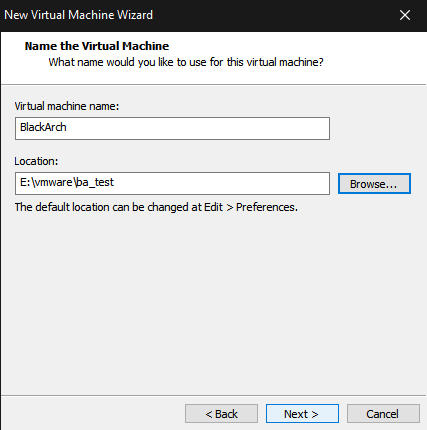
- Enter the Desired Name and Location as per Preference.
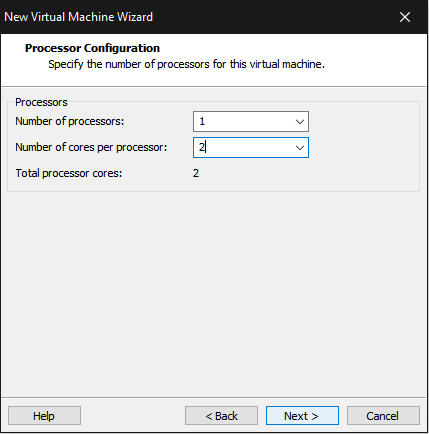
- Choose the setting below as per your system specifications.
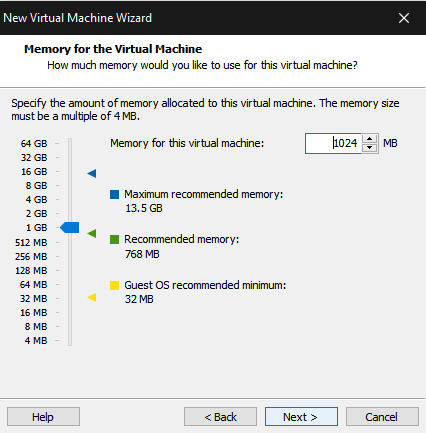
- Set Ram Usage as per your System Specification.
- Network Settings are as per User Choice.

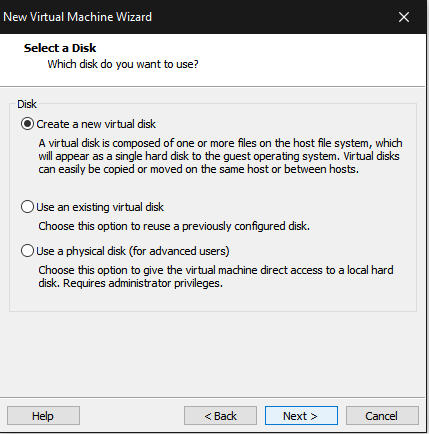
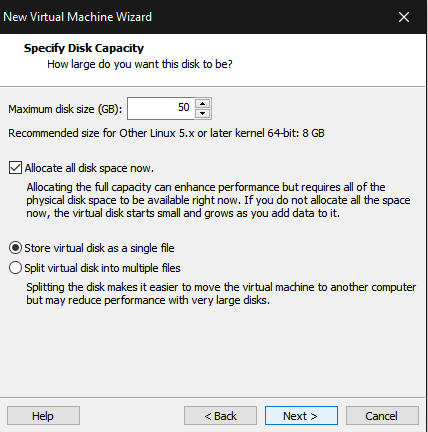
Disk Setting.
- Create a New Virtual Disk.
- Set Disk Space as per Usage Choice. (Recommended Space 50 GB )
Main Installtion
- Boot the Virtual Machine.
- Default Username : root
- Default Password : blackarch
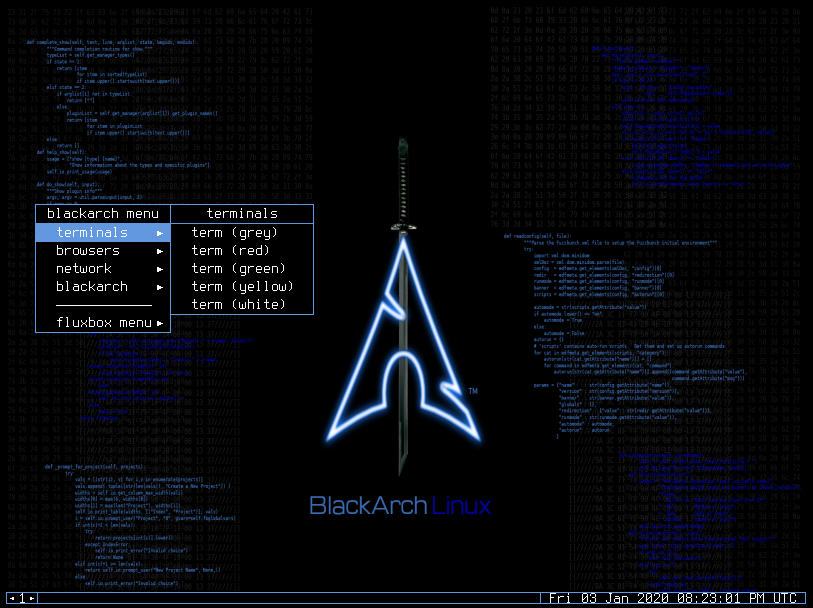
- Default Desktop Environment is set to Fluxbox
- Right click to open menu and choose a terminal
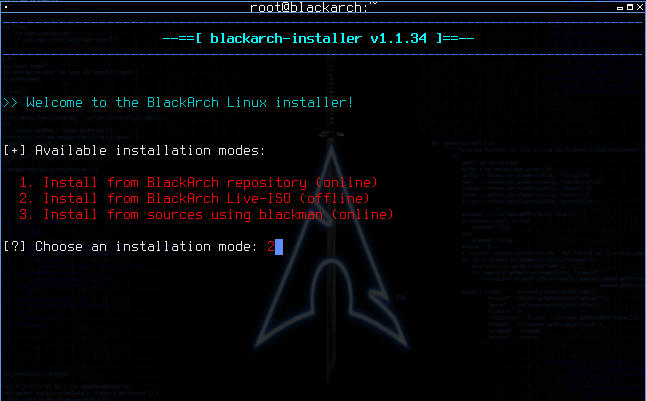
- Launch BlackArch Installer by Typing Blackarch in Opened Terminal -> blackarch-install
- Choose option 2 since we are using a Live ISO for Installation.
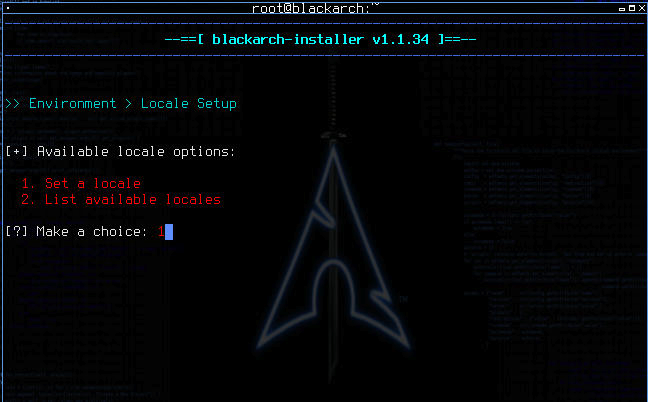
- Set Locale as per choice or use Default Locale.
- Set hostname of your choice.
- Select correct hard drive since we are installing this in a VM we don't need dual boot, so choose NO after selecting hard disk.
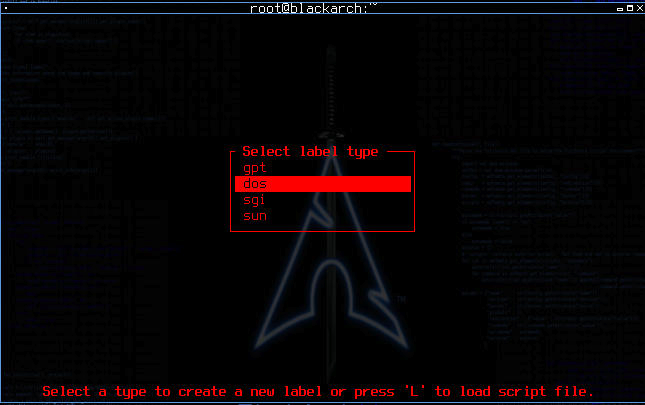
- Since it's a fresh installation we will have to make partitions.
- I will be creating root and boot partitions because not swap.
- You can create swap similarly if you want to.
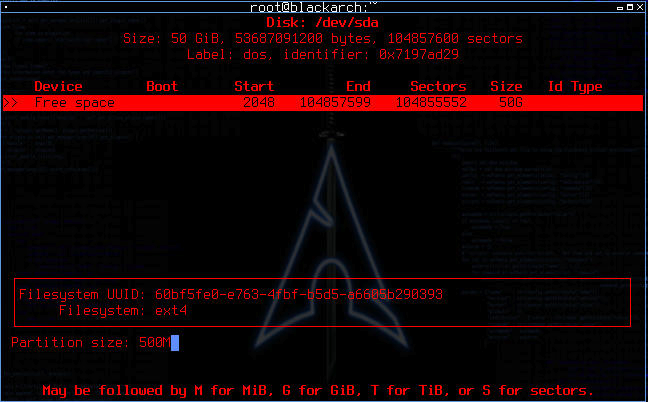
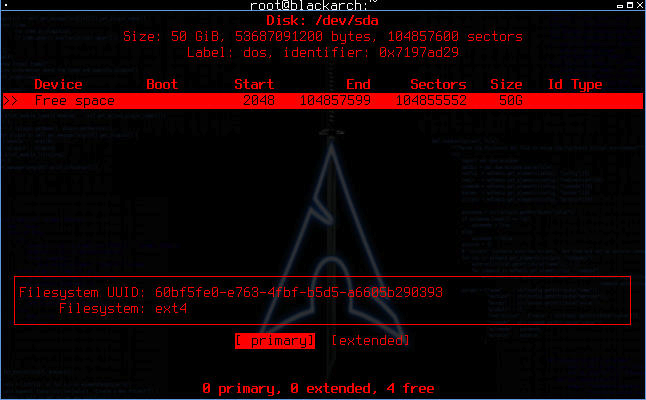
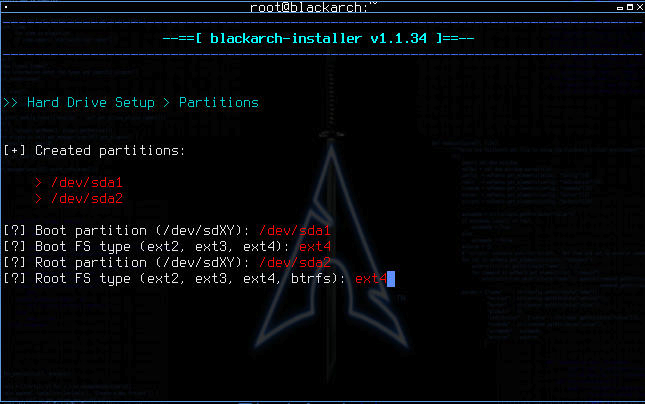
- Select New and set Partition size to 500MB and Set it as primary.
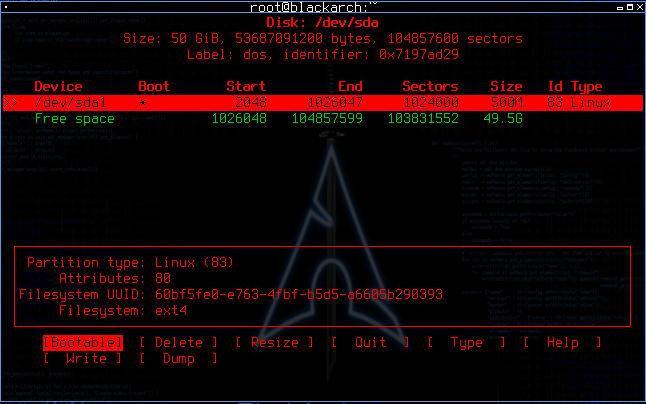
- Final Disk Partation Looks Like
- Set Disk Location per shown above.
- After Confirming Disk Partition type Y.
- This Step While Take Time while You can Have some Coffee or Snacks.
- Set Root Password as per Choice
- Last Step is To Set Timezone
- Then, REBOOT
- HOORAY! Blackarch Has Been Successfully Installed Enjoy it
Credits
- Author -> Hacker Destination
- Follow As on Twitter for More
- Hacker Destination -> @hackerdestinat1